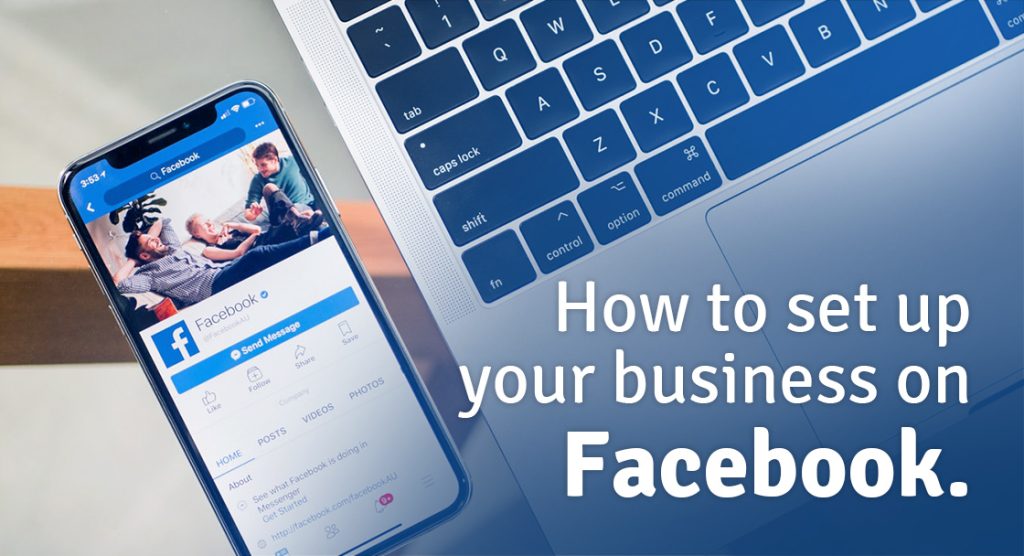
Facebook remains one of the most widely used platforms for businesses looking to reach potential customers online, build brand recognition, and run targeted advertising campaigns. Getting set up correctly from the start makes a significant difference in how effectively the platform serves your business. At FirstPage Marketing, social media marketing is one of our core services, and we regularly help clients navigate the setup and optimization process. This guide covers everything you need to establish a professional business presence on Facebook and get the most out of the tools available to you.
Why a Facebook Business Page Matters
A Facebook business page makes it easier for potential customers to find you, learn about what you offer, and get in touch. It also gives you access to advertising tools that allow you to reach specific audiences based on location, demographics, and interests. Having a well-configured page provides a foundation for connecting your advertising, analytics, and team management tools in one place.
Setting Up Your Business Page
Step 1: Create Your Page
Go to facebook.com/business and use the option to create a new page. Select the business category that customers are most likely to associate your business with. If your business could fit more than one category, choose the one that best reflects how you want to be found. You will also need to provide basic details including your business name, address, phone number, and page category.
Step 2: Add Your Photos
The two most important images to add immediately are the profile photo and the cover photo. For the profile photo, the company logo is generally the best choice as it creates an immediate visual connection with your brand. The cover photo offers more flexibility: it does not have to be a static image, and a high-quality video can be used in its place. Experimenting with the cover to reflect current promotions or seasonal updates is worth doing regularly.
All images should be the highest resolution available and cropped to Facebook’s recommended dimensions. Facebook tends to favour imagery that reflects the human side of a brand rather than purely product-driven or stock photography. Recommended image dimensions are:
- Profile photo: 180 × 180 px
- Cover photo: 851 × 315 px
- Link image: 1200 × 628 px
- Image post: 1220 × 900 px
- Highlighted image: 1200 × 717 px
- Event image: 1920 × 1080 px
- Video: 1280 × 720 px
- Ad image: 1280 × 628 px
- Video ad: 1280 × 720 px
- Story ad: 1080 × 1920 px
Step 3: Choose Your Username
Your username is how people find your business on Facebook and appears in your page’s URL. Choose something easy to type and remember. The business name or a close variation of it is the most practical choice.
Step 4: Complete the About Section
The About section is frequently left incomplete, but filling it out thoroughly from the start pays off. It gives potential customers a single place to find contact details, hours, a business description, and the best ways to reach you. A short, clear description of what your business does is enough. Focus on what potential customers need to know.
Step 5: Publish Your First Post
Before promoting the page or inviting anyone to follow it, publish some content first. A page with no posts makes a poor first impression and gives new visitors nothing to engage with. Share something of genuine value: a blog article or a helpful tip related to your industry. Give visitors a reason to want more before you invite them to follow the page.
Step 6: Build Your Initial Audience
Once the page has content on it, start inviting people to like it. Past customers, colleagues, and family can provide an initial following that helps the page look active. Promoting the page through your website and email newsletter will extend that reach to a broader audience of potential customers.
Should you use LinkedIn or Facebook ads for B2B business?
Setting Up Facebook Business Manager
What Is Facebook Business Manager?
Facebook Business Manager is a platform that centralizes all of your business’s Facebook marketing and advertising activity in one location, separate from your personal profile. It lets you manage pages, run ads, view performance reports, and control who has access to each asset. Vendors, partners, and digital marketing agencies can be given access to your pages and ad accounts without transferring ownership, and partners manage their own team members’ permissions independently, which simplifies the process considerably.
Step 1: Create a Business Manager Account
Go to business.facebook.com and select the option to create an account. You will need to use a personal Facebook profile to verify your identity, but team members and partners will not have visibility into your personal information.
- Enter the business name, your name, and the business email address that will be used to manage the account.
- Enter the business details, including address, phone number, and website.
- Indicate whether the account will be used to promote your own business or to provide services to other businesses.
- Submit the form, then confirm the account by clicking the link in the confirmation email.
Step 2: Add Your Facebook Business Page
From the Business Manager dashboard, select the option to add a page and enter the name of your Facebook business page. If you already have administrator access to that page, the request is approved automatically.
Step 3: Add Your Ad Account
If you have an existing Facebook ads account, link it from the dashboard by selecting the option to add an ad account and entering the account ID found in Ads Manager. If you do not yet have an ad account, the dashboard also provides the option to create a new one. New accounts begin with a single ad account but can add more as advertising activity grows.
Step 4: Add Team Members
Click the option to add people on the dashboard and enter the business email address of each team member you want to add. You can assign limited or full access to the account and control which specific pages and ad accounts each person can work on. Each team member receives an email with instructions for getting started.
Step 5: Connect Partners or Agencies
If you are working with a digital marketing agency or business partners, they can be added through Business Settings by entering their Business Manager ID. Once connected, agencies manage their own team’s permissions from within their own Business Manager account, so you do not need to assign or track access for each individual on their team.
Step 6: Connect Your Instagram Account
From Business Settings, select Instagram Accounts and click the option to add. A login prompt will appear where you can enter your Instagram credentials to link the account. Once connected, the Instagram account is manageable through the same Business Manager interface as your Facebook page and ads.
Setting Up Facebook Ads Manager
Facebook Ads Manager lets you run paid advertising on Facebook and Instagram and is accessible through Business Manager. To set up an ad account:
- Open Business Manager and go to Business Manager Settings.
- Under Accounts, select Ad Account.
- Click the button to add and select the option to create a new ad account.
- Enter an account name.
- Set the time zone and select Canadian dollar as the currency.
- Enter payment details.
To give other users access to the ad account:
- Go to Ad Account Settings in Ads Manager.
- Under Ad Account Roles, select the option to add people.
- Enter the name and email address of the person.
- Select their role from the dropdown menu and confirm.
Setting Up Facebook Pixel
Facebook Pixel is a tracking tool that measures what people do on your website after interacting with your Facebook ads. It connects ad activity to real outcomes on your site, helping you optimize campaigns and understand which audiences are most likely to convert.
To set up Facebook Pixel:
- Open Ads Manager and select Pixels from the Assets menu.
- Create a pixel and give it a name.
- Install the pixel base code on your website either through a tag manager plugin or by copying and pasting the code manually into the header of your site.
- Install the event code on the specific pages you want to track, such as a thank-you page after a form submission.
- Select the event type you want to track for each page, copy the relevant code, and place it on those pages.
- Verify that the pixel is active by returning to the Pixels section in Ads Manager. It can take up to 20 minutes for the status to update.
Optimizing Your Business Page
A complete setup is the foundation. The following steps help the page perform better over time.
Get Verified
A verification badge signals to visitors that the page is the official, legitimate presence for your business. Smaller and local businesses can apply for a grey badge through Facebook, and separate badges can be applied to each of your business locations.
Add a Call to Action Button
Facebook provides a built-in CTA button that can be customized to suit your goals. The default is a message button, but it can be changed to allow visitors to book an appointment, shop online, download a document, or take other actions relevant to your business.
Use Pinned Posts
Pinned posts appear at the top of the page, just below the cover image, making them the first content a visitor sees. They work well for promoting current offers, sharing important announcements, or featuring content you want every visitor to find. To pin a post, write a regular post and then select the option to pin it to the top of the page.
Link to Your Page from Other Web Properties
Adding links to your Facebook page from your website and blog posts helps extend the page’s reach and builds its credibility. Backlinks from your own web properties are one of the simpler ways to strengthen a page’s presence over time.
Setting up a Facebook business presence takes some time to do properly, but the tools available once it is in place make the effort worthwhile. If you would like hands-on support setting up or managing your business’s Facebook presence, our team is happy to help. Give us a call at 604-866-2230 and we can walk through exactly what your setup should look like.